Simple Steps for a Lasting Pop-Top Seal
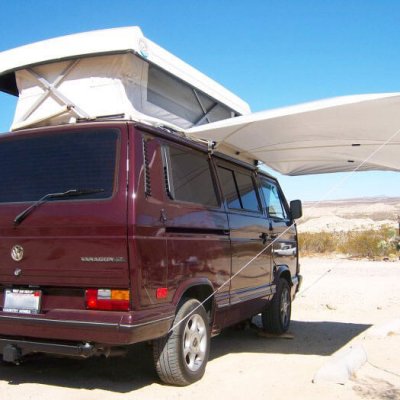
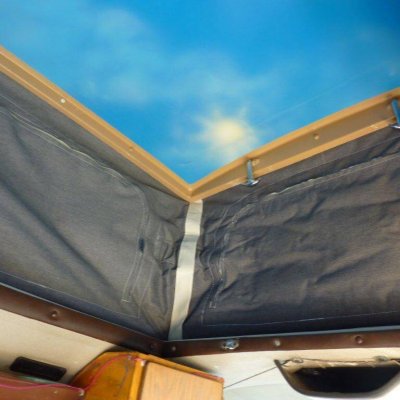
Having a Pop-Top on your camper van brings freedom. But a loose seal? That’s a headache. This extruded one-piece seal aims to fix that separation issue common with glued alternatives.
To get started, a clean surface helps a lot. Waxing where the seal meets the van body is a good idea, too. A little silicone spray on the seal can also prevent it from sticking.
Measure around your top, adding a foot – better too long than too short. Don’t forget the silicone spray. After you remove the old seal, start applying the new seal from the center of the rear of the top, roll the seal, but don’t stretch it. The rubber molding will shrink if you stretch it, and you do not want a gap in the rear.
Once you have rolled the molding to the rear of the top, you will go beyond the starting point about 2 inches, then cut the excess. Peel back the molding about 2 feet and re-roll the molding, pushing it back as you roll to make it fit tightly together. If you cannot get the molding to meet, then cut the excess in small increments, peel back the molding about 2 feet, and re-roll.
Do you need a Pop-top Molding Seal? Country Homes Campers sells it by the foot! Order your Molding Seal now!